Create Draggable Calendar View in SwiftUI
Learn how to use onDrag and onDrop for creating a calendar view

While I was looking at my twitter for inspiration, a tweet from Sean Allen caught my eyes. He made an amazing calendar component with a drag and drop capabilities of its item. I look up the possibilities of using the native SwiftUI approach without any UIKit hack or workaround to do so. In this article, I will explain step by step as well a brief explanation of the API I used to make the calendar view in SwiftUI. There is a good stackoverflow answer to implement drag and drop on 1 level item, but it could not work in case we need to drag and drop the item of the parent item to another parent item, hence I created a workable solution to solve that problem.

Tripzy - Track Your Trip Expenses - Enjoy one of compact travel's budget trackers, directly through your pocket. No hassle, to the point, and without no login required along with the intuitive dashboard Tripzy gives you access to create your travel expenses and track them easily from your device without any hassle.
Construct the data
First, we do need basic data to start with. We only need two models in this use case, a ScheduleItem and a CalendarViewModel. The ScheduleItem is representing the sub-item of the calendar that we want to drag and drop, but the CalendarViewModel is the model that we want to place within the Calendar view, hence we do need around 30/31 CalendarViewModel per month.
 1struct ScheduleItem: Identifiable, Equatable {
 2    let id: String = UUID().uuidString
 3    let name: String? // I will explain later why we need an optional name. This is part of the fake concept I will explain later.
 4}
 5
 6struct CalendarViewModel: Identifiable, Equatable {
 7    let id: String = UUID().uuidString
 8    let date: String
 9    var items: [ScheduleItem] // I make it var because we will mutate this later
10}
Layouting the Calendar Grid and Calendar Items
In this tutorial, I will create a lite version of a calendar view. We only need a LazyVGrid with 7 columns that represents 7 days per week. We also will create a collection of CalendarViewModel as a @State and also one of the ScheduleItem as a dragged object.
1struct CalendarView: View {
2 @State private var models: [CalendarViewModel] = []
3 @State private var dragging: ScheduleItem?
4
5 private let sevenColumnGrid = Array(repeating: GridItem(.flexible(), spacing: 0), count: 7)
6
7 var body: some View {
8 VStack {
9 LazyVGrid(columns: sevenColumnGrid) {
10 // ** 2. items ** //
11 }
12 .animation(.default, value: models)
13 }
14 .background(Color.white)
15 }
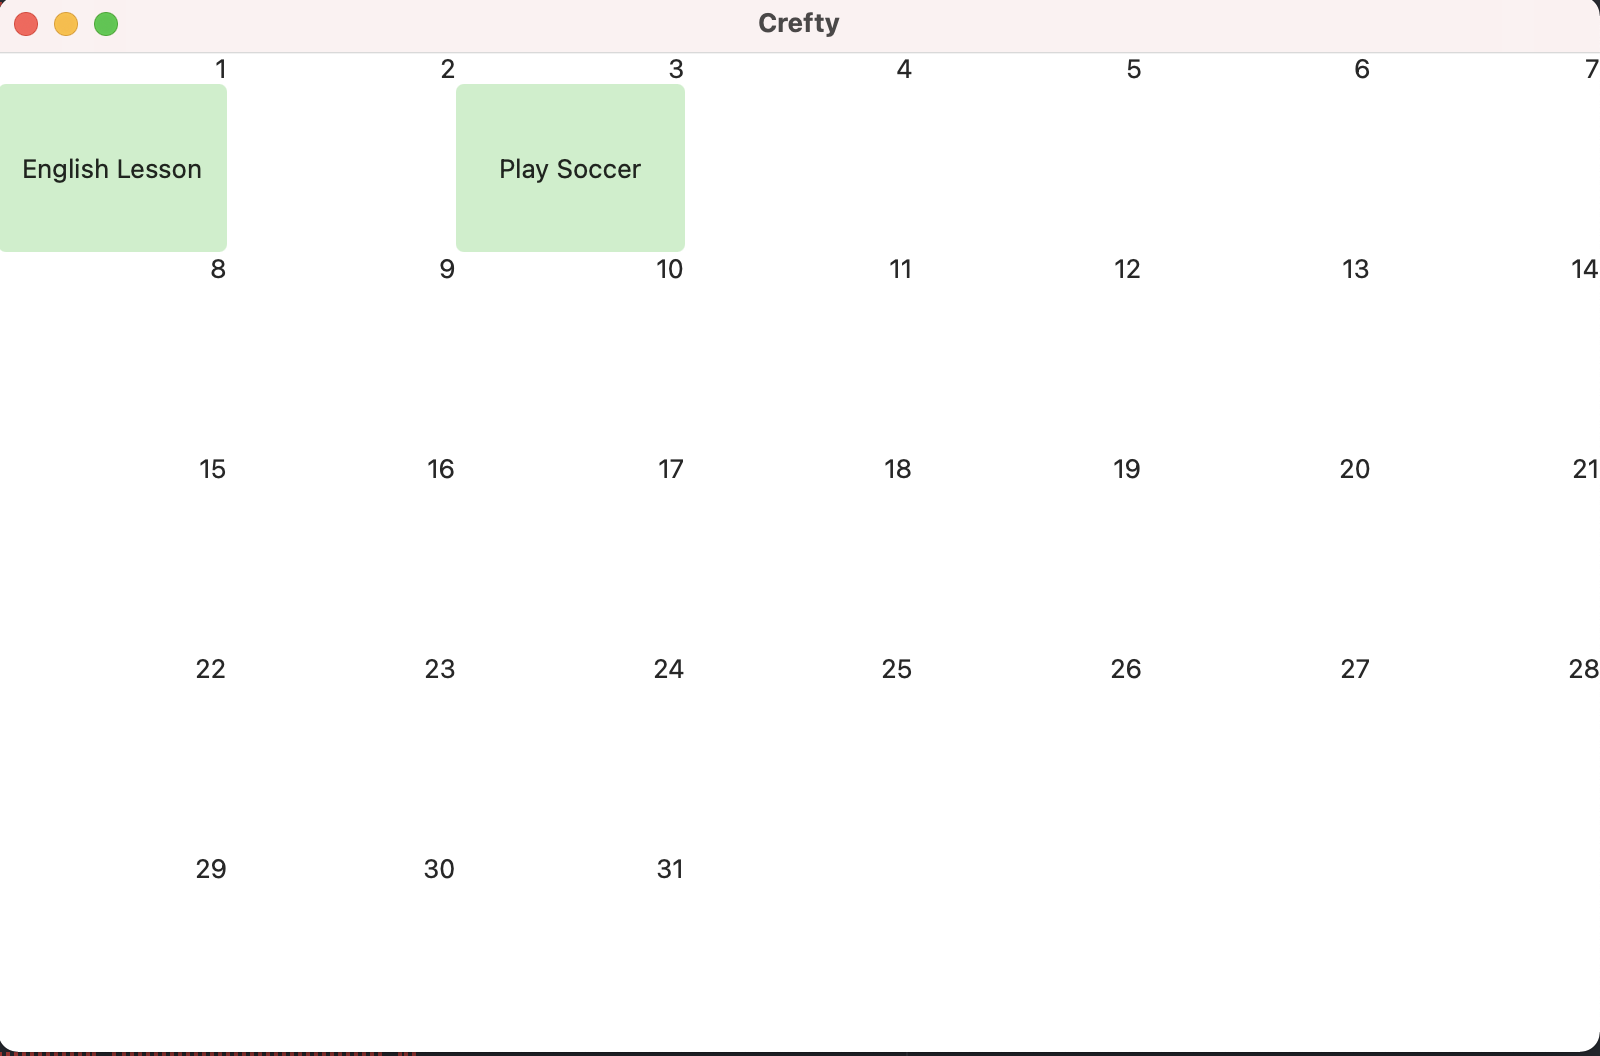
16}In the code below, this is the part where we are layouting the Item view. We only need to iterate the calendar items and make a View on top of it. If you notice you will see I made two separate views, one is the view of the item with a name is exist and the other one is the view for the blank item. I put this way instead of a blank Spacer because of a reason that I will explain in the caveat section later.
 1// 2. items put this inside the LazyVGrid
 2
 3ForEach(models) { model in
 4    VStack {
 5        Text(model.date)
 6            .frame(maxWidth: .infinity, alignment: .trailing)
 7        ForEach(model.items) { item in
 8          if let name = item.name {
 9              VStack {
10                  Spacer()
11                  Text(item.name)
12                      .frame(maxWidth: .infinity, alignment: .center)
13                  Spacer()
14              }
15              .background(Color.green.opacity(0.3))
16              .cornerRadius(4)
17          } else {
18              VStack {
19                  Spacer()
20                  Text("")
21                      .frame(maxWidth: .infinity, alignment: .center)
22                  Spacer()
23              }
24              .background(Color.white)
25          }
26        }
27        if model.items.isEmpty {
28            Spacer()
29        }
30    }
31    .frame(minWidth: 0, maxWidth: .infinity, minHeight: 100, alignment: .center)
32}
The calendar view now will be look like below!.
Understanding onDrag and onDrop API
What is onDrag ? onDrag is a method that is being used for activating the view as the initial source of drag and drop operation, which means it will return View that is being attached with the user gesture input by the time the method is being called. Every time the drag operation begins, the attached view will be used as the preview image. onDrag modifier has a closure that will create and return NSItemProvider. NSItemProvider is the class that informs the system about the content and the type of the draggable item, in this case, we force it as NSString since the UTType we choose is .text (We use NSString not String, because NSItemProvider is part of NSObject, which indicates it can behave as an Objective-C objects so we do need to inject a String data type that could be used in Objective-C which is NSString).
How about onDrop? So basically onDrop will ask for a UTType data type which is a data type that represents a type of data to load, send, or receive. UTType data type describes type information of data such as a unique identifier, lookup method name, or even some of the metadata as part of additional information to be sent along with the data. In this case, I will just use UTType.text type because we just drop simple text data from a struct.
So after all of the theory above, here is the implementation of the onDrag and onDrop on our calendar view. (Put this inside the ForEach of the Grid).
 1VStack {
 2    Text(model.date)
 3        .frame(maxWidth: .infinity, alignment: .trailing)
 4    ForEach(model.items) { item in
 5        if let name = item.name {
 6            VStack {
 7                Spacer()
 8                Text(name)
 9                    .frame(maxWidth: .infinity, alignment: .center)
10                Spacer()
11            }
12            .background(Color.green.opacity(0.3))
13            .cornerRadius(4)
14            .overlay(dragging?.id == item.id ? Color.green.opacity(0.3) : Color.clear)
15            .onDrag {
16                self.dragging = item
17                return NSItemProvider(object: item.id as NSString)
18            }
19            .onDrop(of: [UTType.text],
20                    delegate: DropDelegateImpl(item: item,
21                                               listData: $models,
22                                               current: $dragging))
23        } else {
24            VStack {
25                Spacer()
26                Text("")
27                    .frame(maxWidth: .infinity, alignment: .center)
28                Spacer()
29            }
30            .background(Color.white)
31            .onDrop(of: [UTType.text],
32                    delegate: DropDelegateImpl(item: item,
33                                               listData: $models,
34                                               current: $dragging))
35        }
36    }
37    if model.items.isEmpty {
38        Spacer()
39    }
40}
41.frame(minWidth: 0, maxWidth: .infinity, minHeight: 100, alignment: .center)
Tripzy - Track Your Trip Expenses - Enjoy one of compact travel's budget trackers, directly through your pocket. No hassle, to the point, and without no login required along with the intuitive dashboard Tripzy gives you access to create your travel expenses and track them easily from your device without any hassle.
Understanding DropDelegate
For both onDrag and onDrop are working as expected, they require us to implement DropDelegate on the onDrop behavior. The purpose of DropDelegate is to give us the ability to interact with a drop operation in a view modified to accept drops. If we don’t need to do complex behavior or interaction then you can proceed with another onDrop modifier which has a perform closure for doing the drop interaction. In this case, since we do need to detect where the item is coming from and to whom the item is expected to be dropped, as well as performing a swap operation we need a custom DropDelegate. This DropDelegate will be applied to all of the calendar items as part of a parameter of view modifier of onDrop modifier.
 1struct DropDelegateImpl: DropDelegate {
 2    let item: ScheduleItem // 0.
 3    @Binding var listData: [CalendarViewModel] // 1.
 4    @Binding var current: ScheduleItem? // 2.
 5
 6    func dropEntered(info: DropInfo) {
 7        guard let current = current, item != current else {
 8            return
 9        } // 3.
10        let from = listData.first { cvm in
11            return cvm.items.contains(current)
12        } // 4.
13        let to = listData.first { cvm in
14            return cvm.items.contains(item)
15        } // 5.
16
17        guard var from = from, var to = to, from != to else {
18            return
19        } // 6.
20
21        if let toItems = to.items.first(where: { $0.id == item.id }),
22           toItems.id != current.id { // 7.
23            let fromIndex = listData.firstIndex(of: from) ?? 0 // 8.
24            let toIndex = listData.firstIndex(of: to) ?? 0 // 9.
25            to.items.append(current) // 10.
26            to.items.removeAll(where: { $0.name == nil}) // 11.
27            from.items.removeAll(where: { $0.id == current.id }) // 12.
28            if from.items.isEmpty {
29                from.items.append(ScheduleItem(name: nil)) // 13.
30            }
31            listData[toIndex].items = to.items // 14.
32            listData[fromIndex].items = from.items // 15.
33        }
34    }
35
36    func dropUpdated(info: DropInfo) -> DropProposal? {
37        return DropProposal(operation: .move) // 16.
38    }
39
40    func performDrop(info: DropInfo) -> Bool {
41        self.current = nil // 17.
42        return true
43    }
44}
From the code above, there are some notable operations I do: 0. First we need to set the item of the current schedule object.
- Then we need to bind the
listDatawhich is the wholeCalendarViewModel. - This step we need to bind also the current
draggingschedule item. Remember schedule item is part ofCalendarViewModel. - Pretty obvious step, block any operation if both item and current are the same things.
- Retrieving the correct
Calendarmodel that contains the current dragged item. - Retrieving the correct
Calendarmodel that contains the destination item. - Obvious step, both step numbers 4 and 5 should not be the same object. I make it as
varbecause we will mutate the value of the struct. - We start to filter only take the destination item that matches with the
idof the current schedule object from number 1. - Now we need to get the index of the calendar object which contains the dragged item.
- We also need to get the index of the calendar object which contains the destination item.
- Now we will add the dragged item to the destination array of items.
- We also need to remove all of the items that contain
nilname. This is one of the tricks I need to do in order for the item can be dragged to the empty calendar. (I will explain in the caveat section). - After that we need to remove the item from the source calendar.
- This step, is part of the caveat section, where we need to append the source calendar an empty item object (fake object) if the array of items on that calendar is empty.
- Now we need to assign the item of our Bindable calendar object. This one is assigning the destination object with the new list of items.
- Same as step 14 but this one is assigning the source object with the new list of items.
- One of the delegate functions is
dropUpdatedwhich we need to feed ourDropDelegatewith theDropProposal.DropProposalis the behavior of the drop action, which we need to declare theDropOperation. There are 4 types ofDropOperationwhich are cancel, copy, forbidden, and move. See more info here. I would assume this one is for telling the system what is the expected behavior of the dropping action then the system can decide what the system can do for resolving the session of the drag and drop operation, however, I don’t see any effect in our use case (yet), probably because we only move the textUTTypeinstead of other possibleUTType. performDropis the delegate function to determine whether we can perform the drop interaction or not. We set the return totrue, but we set back thecurrentor dragged item asnilto tell the system we finish dragging the item.
Above are the explanation of steps I made within my DropDelegate object. Now let’s take a look back on step 11 with the fake object at the section below.
To understand more about DropDelegate, DropInfo and DropProposal, please visit this documentation from Apple. https://developer.apple.com/documentation/swiftui/dropdelegate.

Caveat
There is a single caveat here that I need to do in order we can do any drag and drop behavior within an item to another calendar that has no data/item in their calendar view. If we only drag the calendar it is possible to do so because we will apply all of the onDrag modifiers to all of the calendar views, then the system can tell the object that we want to compare and swap the calendar. But in this case, we want to drag the sub-item of the calendar, and the best case we should do in the UI part, that we will put an empty Spacer to the Calendar view instead of the Item view and we only put the onDrag behavior on the Item view. However, this is not possible, because we will make the onDrag and onDrop not recognizing the destination item view (because we only put a Spacer and we can not put the onDrag and onDrop in that spacer since no data can be compared within that spacer). So in order we can compare the item, we need to make a fake item object with a nil string name, and we place it all over the Calendar view that has no sub-items, then we can still put onDrag and onDrop modifier on top of that Item view, and the system can recognize the item to be compared. At the moment, I am still thinking this is a hacky way and not clean enough for this behavior, if anyone found out the better solution please let me know!.
Conclusion
In my opinion, Drag and Drop behavior in SwiftUI are quite hard to implement at first and need a bit learning curve to understand how it behaves. However by the time you try it out, it is easier than I thought. Both of them indeed are quite tricky to implement, but it doesn’t mean we need to scare of them. I suggest trying it out and you can make a lot of cool stuff with it. I hope my article could help you to understand more about the basic foundation of how to do drag and drop in SwiftUI, if you have any questions and better solutions please reach me out on twitter!
Tripzy - Track Your Trip Expenses - Enjoy one of compact travel's budget trackers, directly through your pocket. No hassle, to the point, and without no login required along with the intuitive dashboard Tripzy gives you access to create your travel expenses and track them easily from your device without any hassle.