Fun Scripting in Swift — for beginner (PART II)
Implementing Argument Parser in Swift"
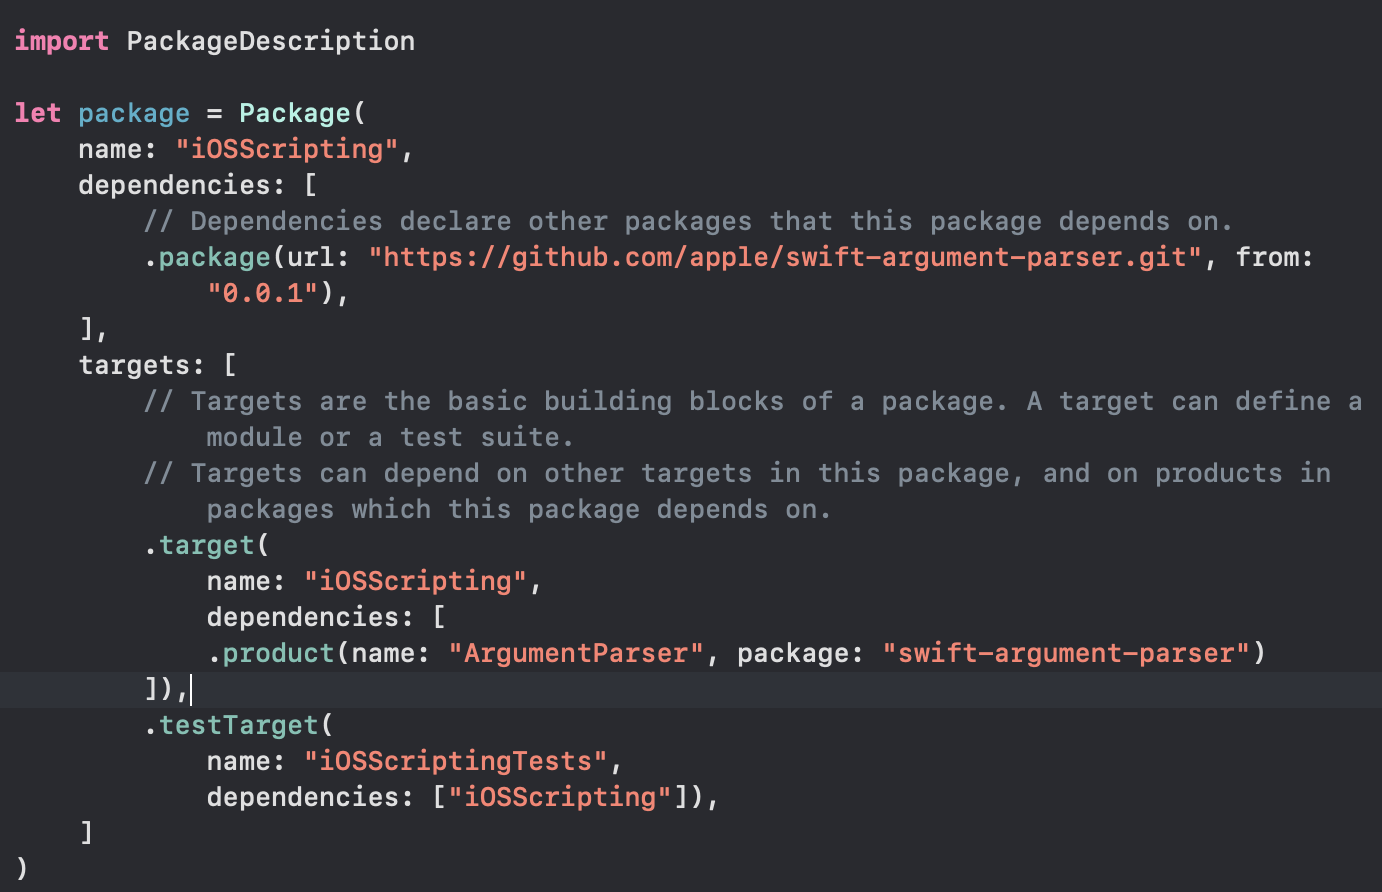
Now time for the next step after the previous part of my articles. After we know some basic knowledge of swift scripting lets moves to the next one! Now we will talk about ArgumentParser. It is a new library that provides multiple commands and parses the arguments in the command line. Let us first set up the dependencies and the product name on our Package.swift and run swift build to make sure we fetch the latest dependencies in the project.

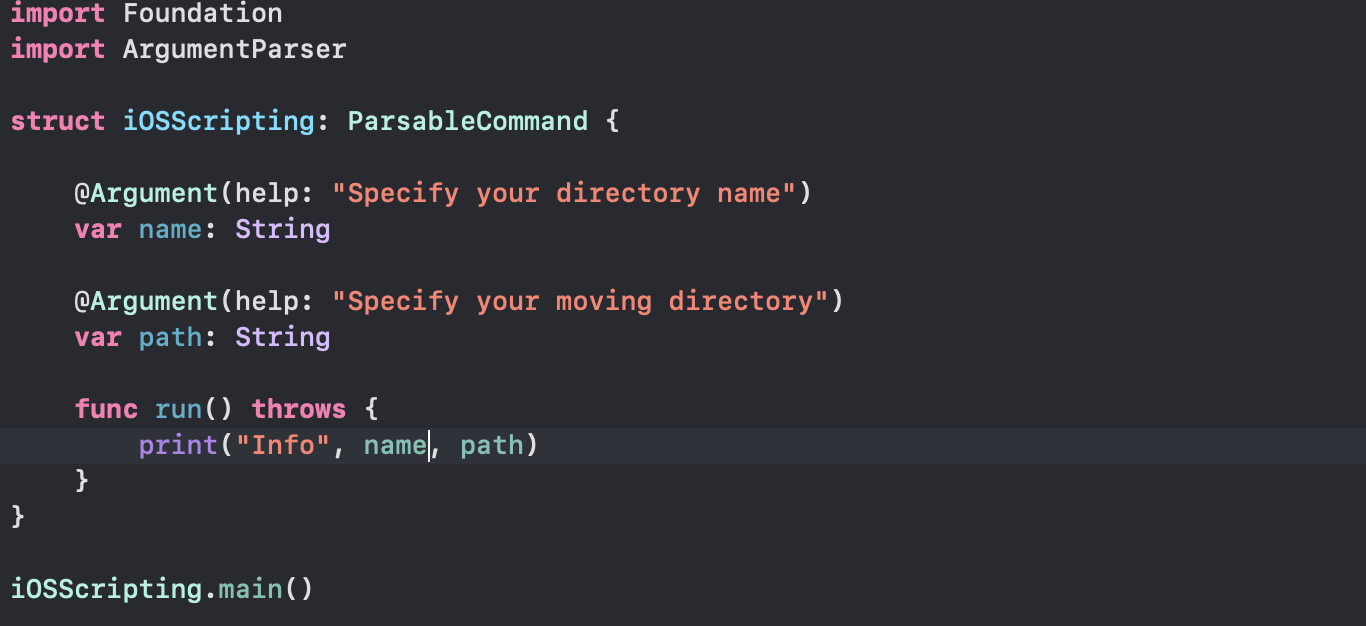
To see the usage of this package, first, we need to conform our struct to the ParsableCommand and put the property wrapper Argument to each property to define the definition of that property. This ArgumentParser would be very useful for “how to use” information on the script. Look at these examples below

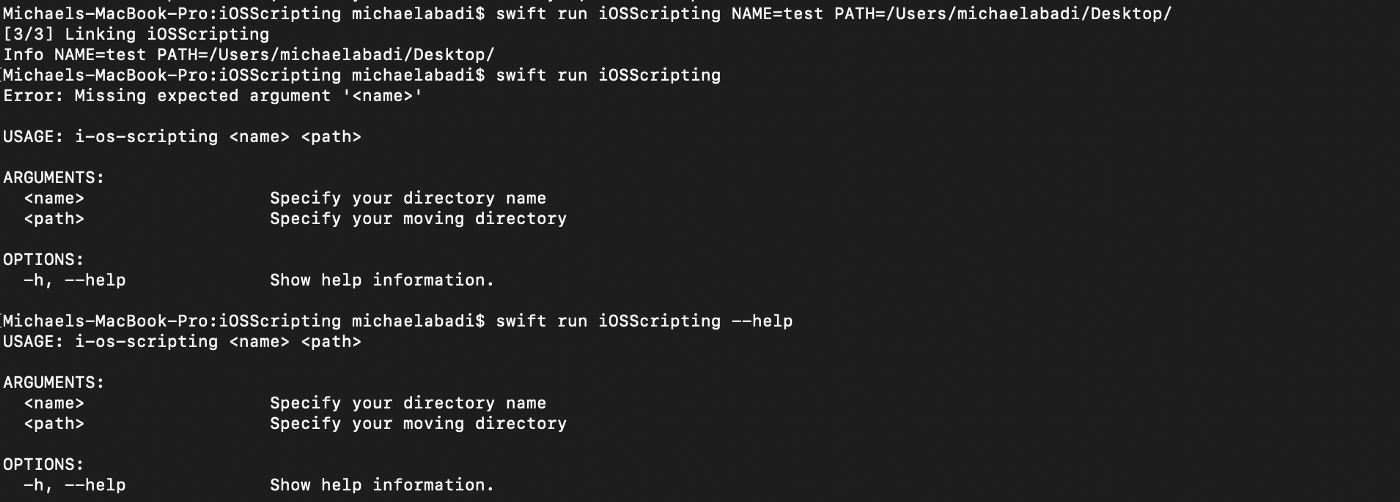
The above code will take 2 arguments to be parsed from the command line. And tadaa here is the result. We can see from the picture below that ArgumentParser has standardized the structure of the usage section. That’s neat !!!

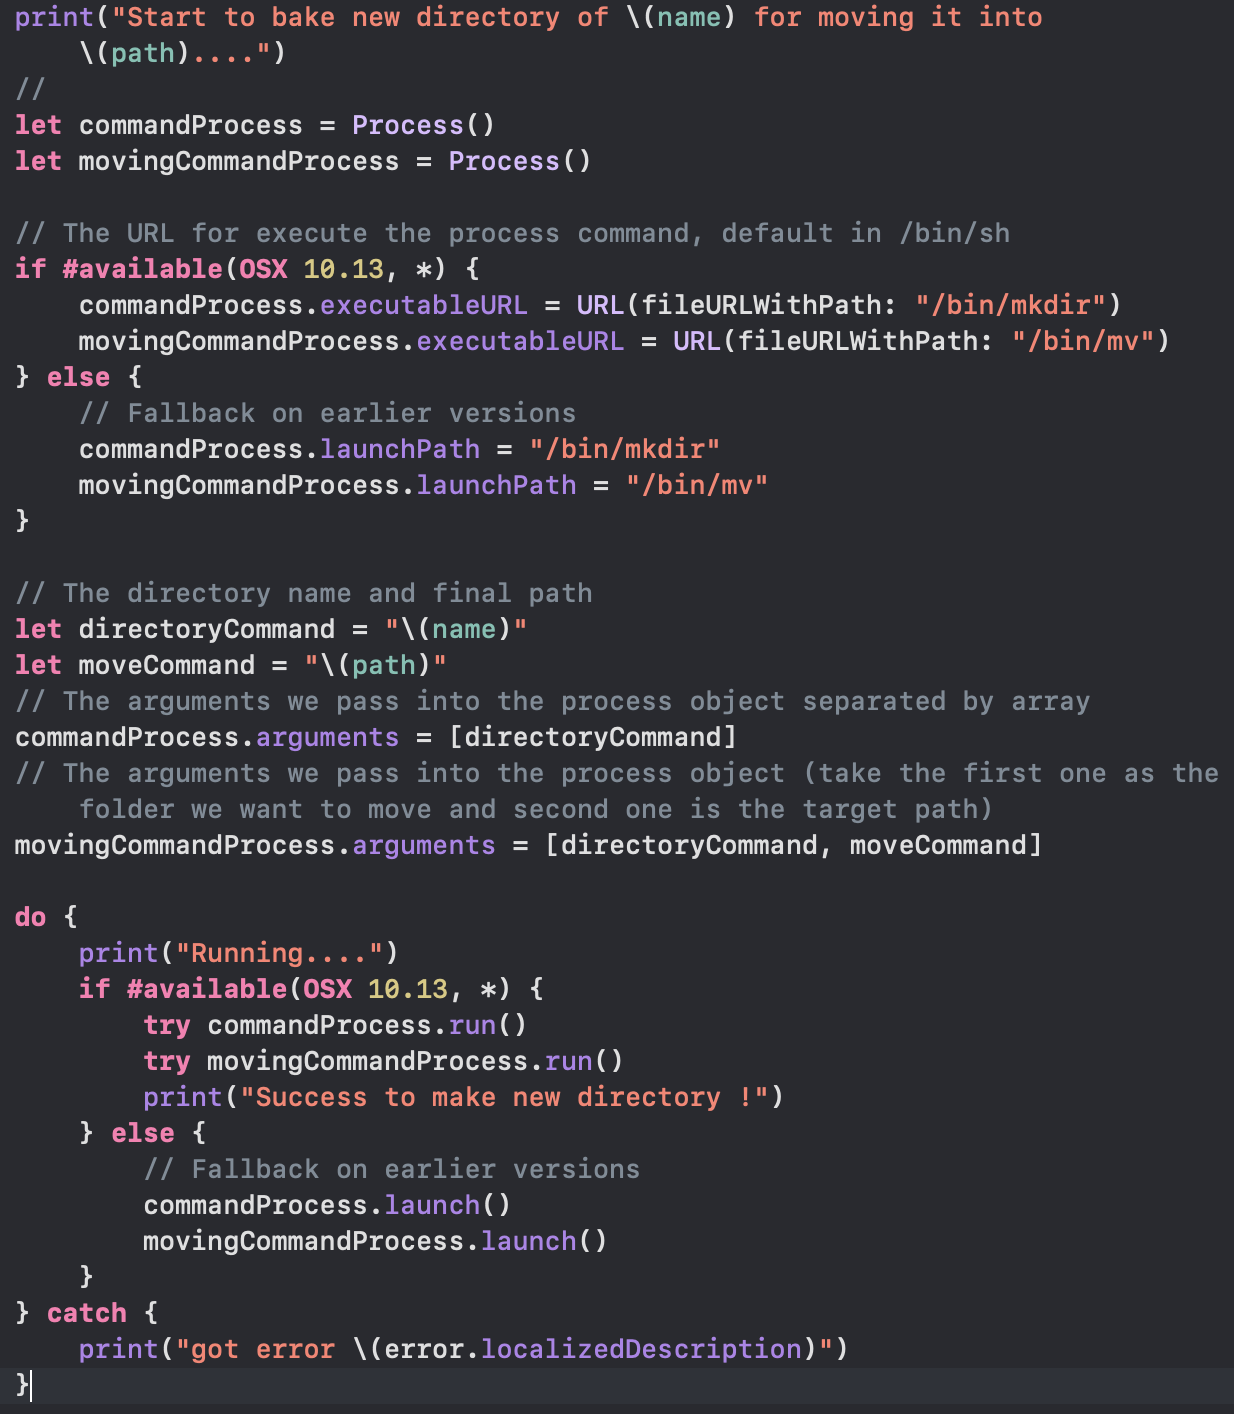
Now move to the next section which is adding the command to make and move the directory base on the arguments.

Let me explain step by step what was happening on the code above.
- First, it will use
Processobject for do the terminal process, each command are different process so we do need 2 objects - Second, put the executableURL of the command, since we are using
mkdirandmvoperation, I able to locate my command was triggered from/bin/mkdirand/bin/mv - Third, put the arguments on both processes. The first command just need one argument, meanwhile the
mvneed 2 arguments and it is separated by an array index - Fourth, let run the processes!
Pretty cool eh ?! Now let us add more cool animation to the script!. Wow, we can do that? Of course. SPM has dependencies toward two libraries which is TSCUtility and TSCBasic under swift-tools-support-core package. With those two libraries, we could get a lot of utility tools such as animation for making an intuitive UI/UX to the user what we are doing behind the scenes like a progress state. Let do some additional animation for our script. Do not forget to put import TSCBasic and import TSCUtility on top of the file.


Those are 3 steps for putting animation to our new script. Well done! let see the result!

Finally, we are able to make new command for making a new folder called “test” and moving it into our “Desktop”.
Now time for releasing our script. It is very easy, run below command (copy it to your /bin/ path) and you can start to run your new script!
$ swift build -c release
$ cp .build/release/iOSScripting /usr/local/bin/iOSScripting
$ iOSScripting
Finally, we are able to build and release our script. I hope this tutorial would help us to understand more about swift scripting. Here is the full source code for it: Project Link.
