Simple Protocol Oriented in SwiftUI in 5 minutes
Learn how to use Protocol Oriented in SwiftUI
SwiftUI is a really powerful language since it was born in 2019. In 2020 (WWDC) Apple did announce a lot of improvement on SwiftUI. However, there is rarely a topic discussed good practices on how to do we able to implement protocol-oriented programming in SwiftUI. There are a lot of articles out there however I guarantee to cover that in 5 minutes of your time. This article is suitable for those who are just starting to learn about iOS Programming !.
Our end goal is to be able to fetch the data (mock data) and map it into our List view in SwiftUI. The application is about showing a list of the football player names. Normally we able to put everything under one Struct view object. Now let us take a look 3 main layer we will discuss :
- View Layer
- Business Logic Layer
- Entity Layer
We will start with the Entity Layer. In order to show the data to the view through the view model, we need a dummy model, that must conform to Identifiable protocol (mandatory from SwiftUI) in order to the view to be able to identify the difference for each row.
1// The dummy model
2struct Player: Identifiable {
3    let id: Int
4    let name: String
5    let number: Int
6}
Now let’s move to BL Layer. Basic knowledge, normally we will just have a single View Model handle everything however how about if we want to limit the caller to only able to know the datasource and action that available from the View Model ?. We can use protocol-oriented programming in this case.
 1// The datasource
 2protocol ItemViewModelDatasource {
 3    var data: [Player] { get set }
 4}
 5
 6// The action capabilities
 7protocol ItemViewModelAction {
 8    func fetchItem()
 9    func addPlayer(_ player: Player)
10}
Both protocols above are the interface of datasource and action for our view model later. Now after this, since we are building with SwiftUI, we do need a class that conforms to ObservableObject and have a @Publish property wrapper to the corresponding datasource.
1// Base model protocol
2protocol ListViewModel: ObservableObject {
3    var action: ItemViewModelAction { get }
4    var datasource: ItemViewModelDatasource { get set }
5}
Above protocol is the interface of ListViewModel (which is a protocol) and we encapsulate and restrict it only to able to get the action and datasource (also give a setter capabilities for setting the bind-ed object). Now let make a full implementation on the view model class.
 1// Real class implementation
 2class PlayerListViewModel: ListViewModel, ItemViewModelAction, ItemViewModelDatasource {
 3
 4    // MARK: - Datasource
 5    @Published var data: [Player] = []
 6
 7    private lazy var _datasource: ItemViewModelDatasource = {
 8        return self
 9    }()
10
11    var datasource: ItemViewModelDatasource {
12        get {
13            return _datasource
14        }
15        set {
16            _datasource = newValue
17        }
18    }
19
20    // MARK: - Action
21    var action: ItemViewModelAction {
22        return self
23    }
24
25    func fetchItem() {
26        data = [
27            Player(id: 1, name: "G. Donnaruma", number: 1),
28            Player(id: 2, name: "Andrea Conti", number: 12),
29            Player(id: 3, name: "G. Bonaventura", number:5),
30            Player(id: 1, name: "Zlatan Ibrahimovic", number: 21)
31        ]
32    }
33
34    func addPlayer(_ player: Player) {
35        data.append(player)
36    }
37}
As you can see, the view model needs to conform to our ObservedObject protocol interface as well as the datasource and action interface. Don’t forget to put property wrapper @Published in front of the data property. This is a mandatory step since this wrapper functionality is to inform our view that this one is the data from the observable object wants to notify the listener.
 1struct ContentView<Model>: View where Model: ListViewModel {
 2
 3    @ObservedObject var viewModel: Model
 4
 5    @State var items: [String] = [
 6        "G. Donnarumma",
 7        "Andrea Conti",
 8        "Jack Bonaventura",
 9        "Zlatan Ibrahimovic"
10    ]
11
12    var body: some View {
13        NavigationView {
14            List {
15                ForEach(items, id: \.self) { item in
16                    Text("Item - \(item)")
17                }
18            }
19            .navigationBarTitle("AC Milan Player")
20        }
21    }
22}
In the last step, we can create our simple view as above. When we declare the struct we need to put the generic Model type after the struct name, along with the supported type which is ListViewModel. This way we always guarantee that the model that is passed by the caller would always be a ListViewModel abstraction. In above code, we are still using local @State data which is items. Now we want to change it with the one from the view model through our abstraction. Here are the changes below :
1struct ContentView<Model>: View where Model: ListViewModel {
2
3 @ObservedObject var viewModel: Model
4
5 @State var items: [String] = [
6 "G. Donnarumma",
7 "Andrea Conti",
8 "Jack Bonaventura",
9 "Zlatan Ibrahimovic"
10 ]
11
12 var body: some View {
13 NavigationView {
14 List {
15 ForEach(items, id: \.self) { item in
16 Text("Item - \(item)")
17 }
18 }
19 .navigationBarTitle("AC Milan Player")
20 }
21 }
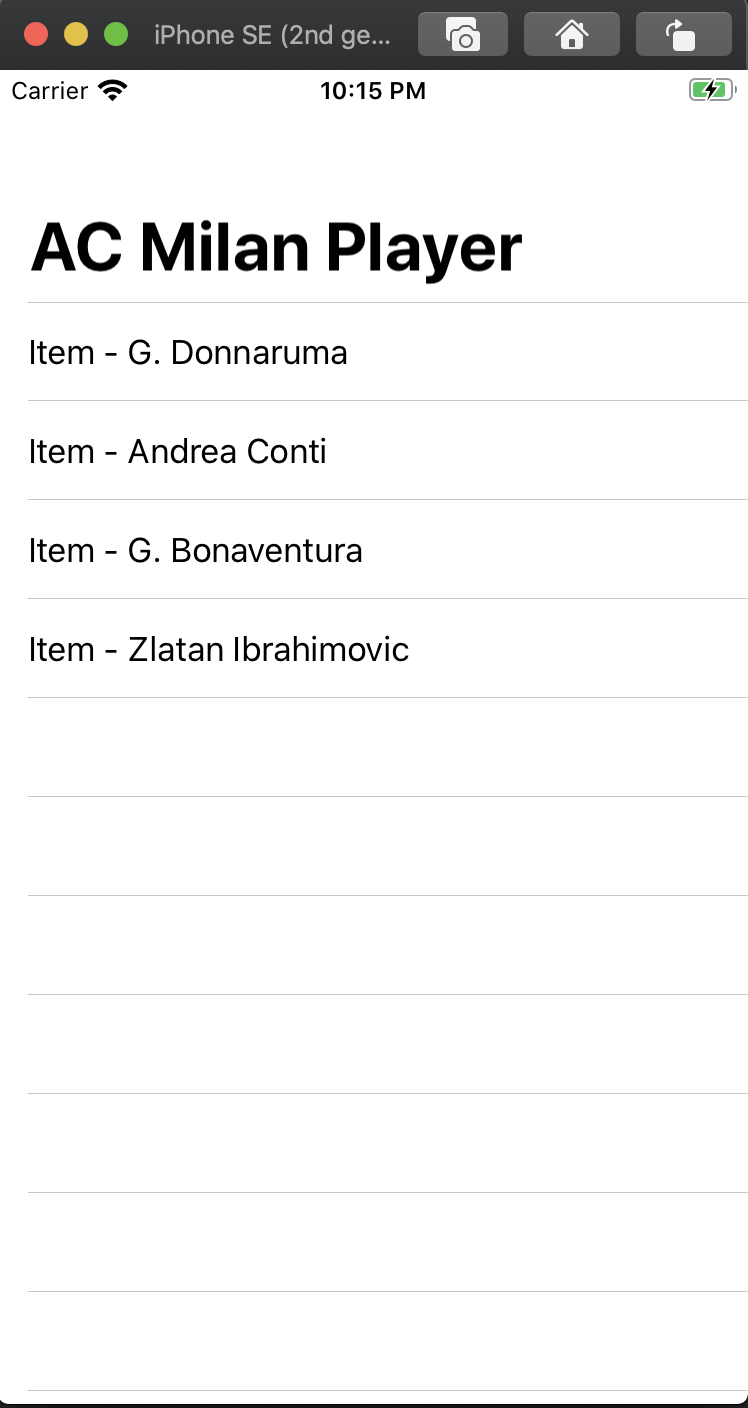
22}As you can see above, we are binding the List with data from the view model instead local state. Also we are triggering the query data from .onAppear method of the list to get the data. Once you get the data it will show the data correctly as shown on the picture below.
That’s all you need to make a good separation of view and bussiness logic in SwiftUI.