Testing In-App Purchases Locally in Simulator
Implementing Store Kit in Swift
During development, we will come into a phase where we would like to test out our In-App Purchases. However, most likely we ever heard a myth that IAP only works with devices to test it out with an internal tester account. Turns out during the process of the creation of Tripzy, I found a way to test our IAP in a simulator without any hassle. Keep in mind there will be some limitations of course if we are testing against the simulator. Okay, let’s jump out to the solution, which is StoreKit Configuration.
StoreKit Configuration
Basically, StoreKit Configuration is a JSON-encoded file that mimics our in-app purchases configuration in App Store Connect. When we create the file, we can specify any product identifiers that we want without any necessity to be exactly the same as the production identifier. However, in order to clone and testing our production app, it would be nicer if we can create exactly the same environment. Let’s do our first step:
Xcode -> File -> New -> StoreKit Configuration File
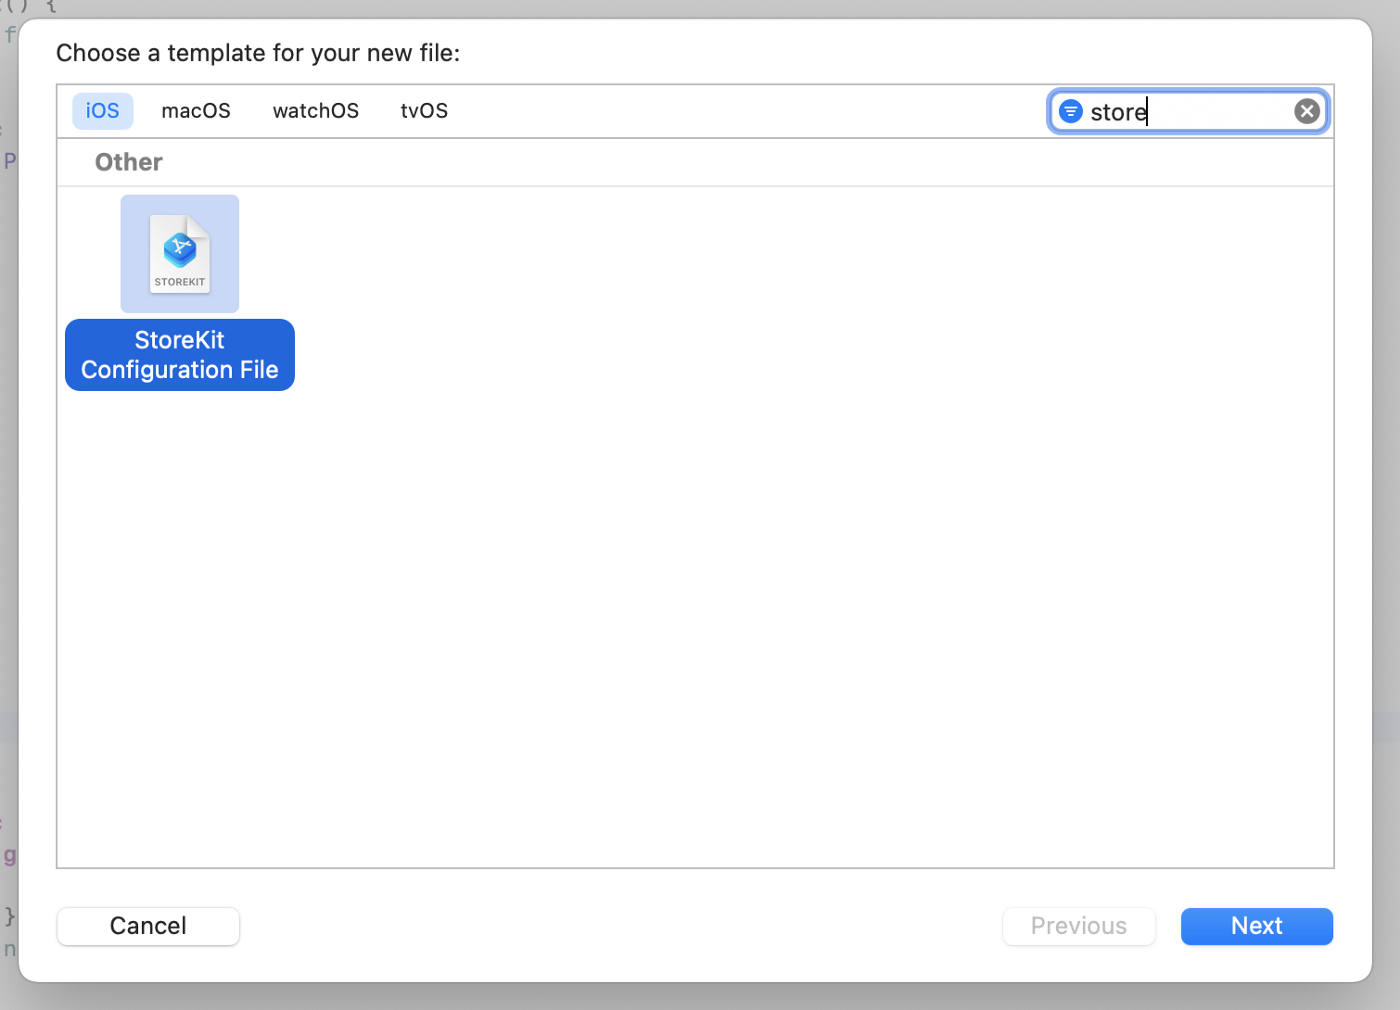
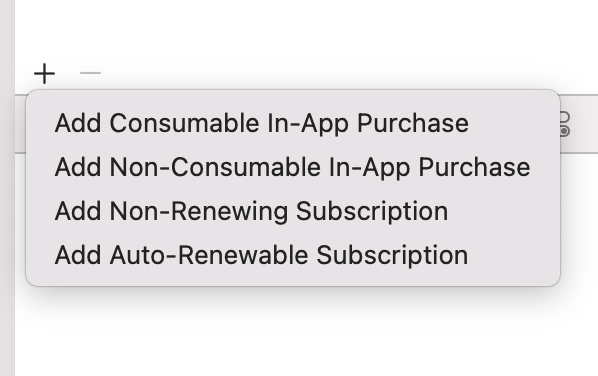
Once you have made this first new file it will appear in your left panel project structures with an extension file of .storekit. Next, we would like to add some in-app purchases that we want. I assume all of you already understand what are the differences between those 4 available IAP types.
Click the + button and then choose one of the items
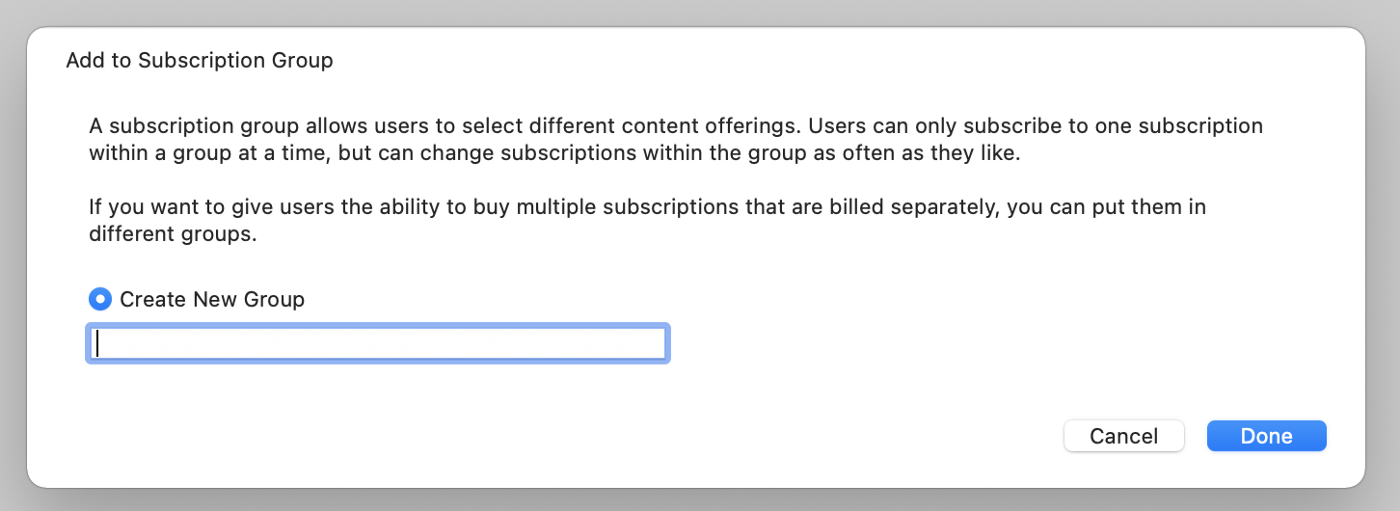
Now the next step is making a New Group. You can specify the name of your group to be similar to your real Production Group.
Now as you can see in the below picture, this is the next step on the storekit. We can now specify more details on your configuration, either the reference name, price, duration and many more exactly the same thing that we need to set in the AppStore Connect. You can either add new IAP under same group, or create new group, or even delete the existing one.

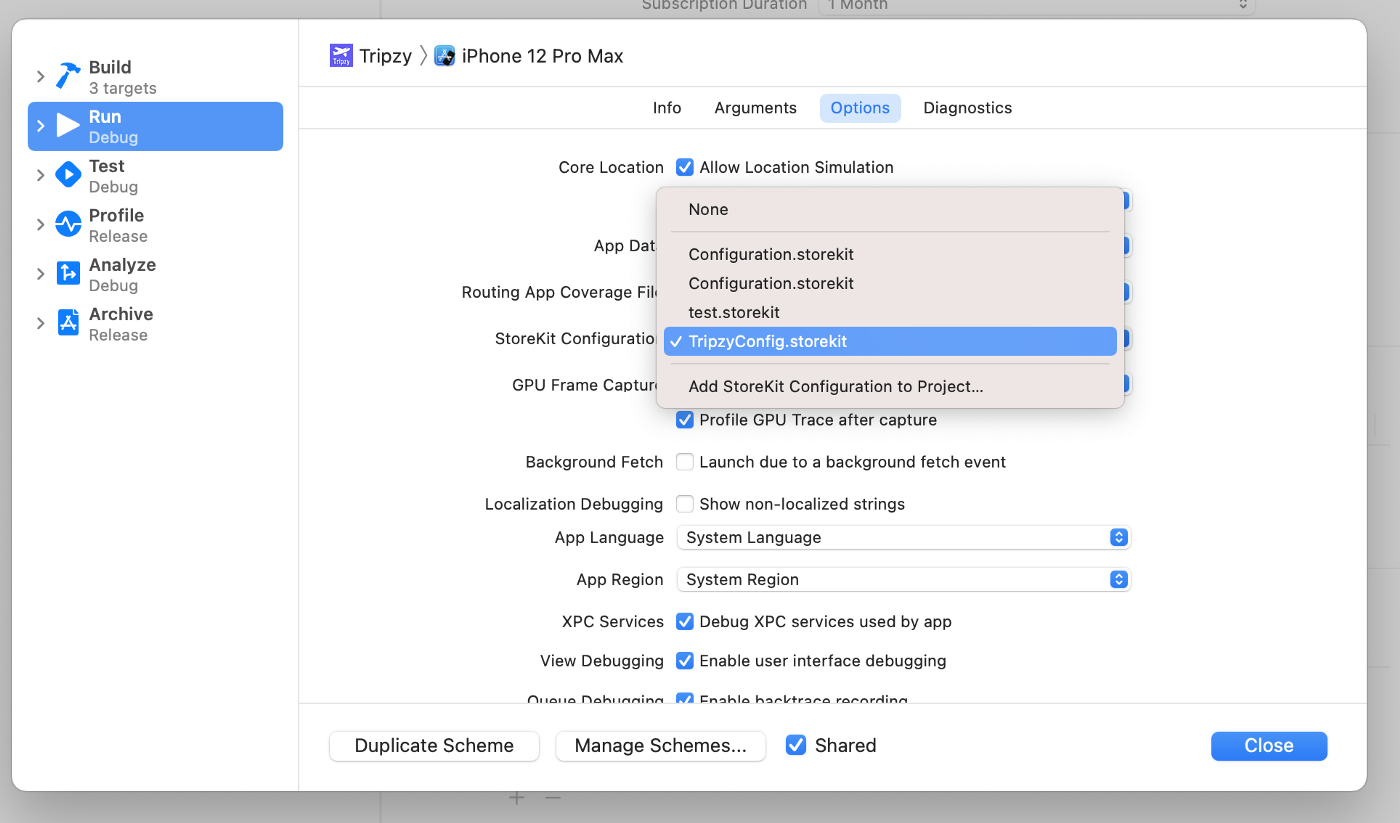
The final step now is making this configuration file is available for testing in the simulator. What you need to do is using the storekit in our debug options in our scheme.
Edit Scheme -> Run -> Options -> StoreKit Configuration
Let’s try running our application. You will see exactly the number that we have set in our StoreKit file.
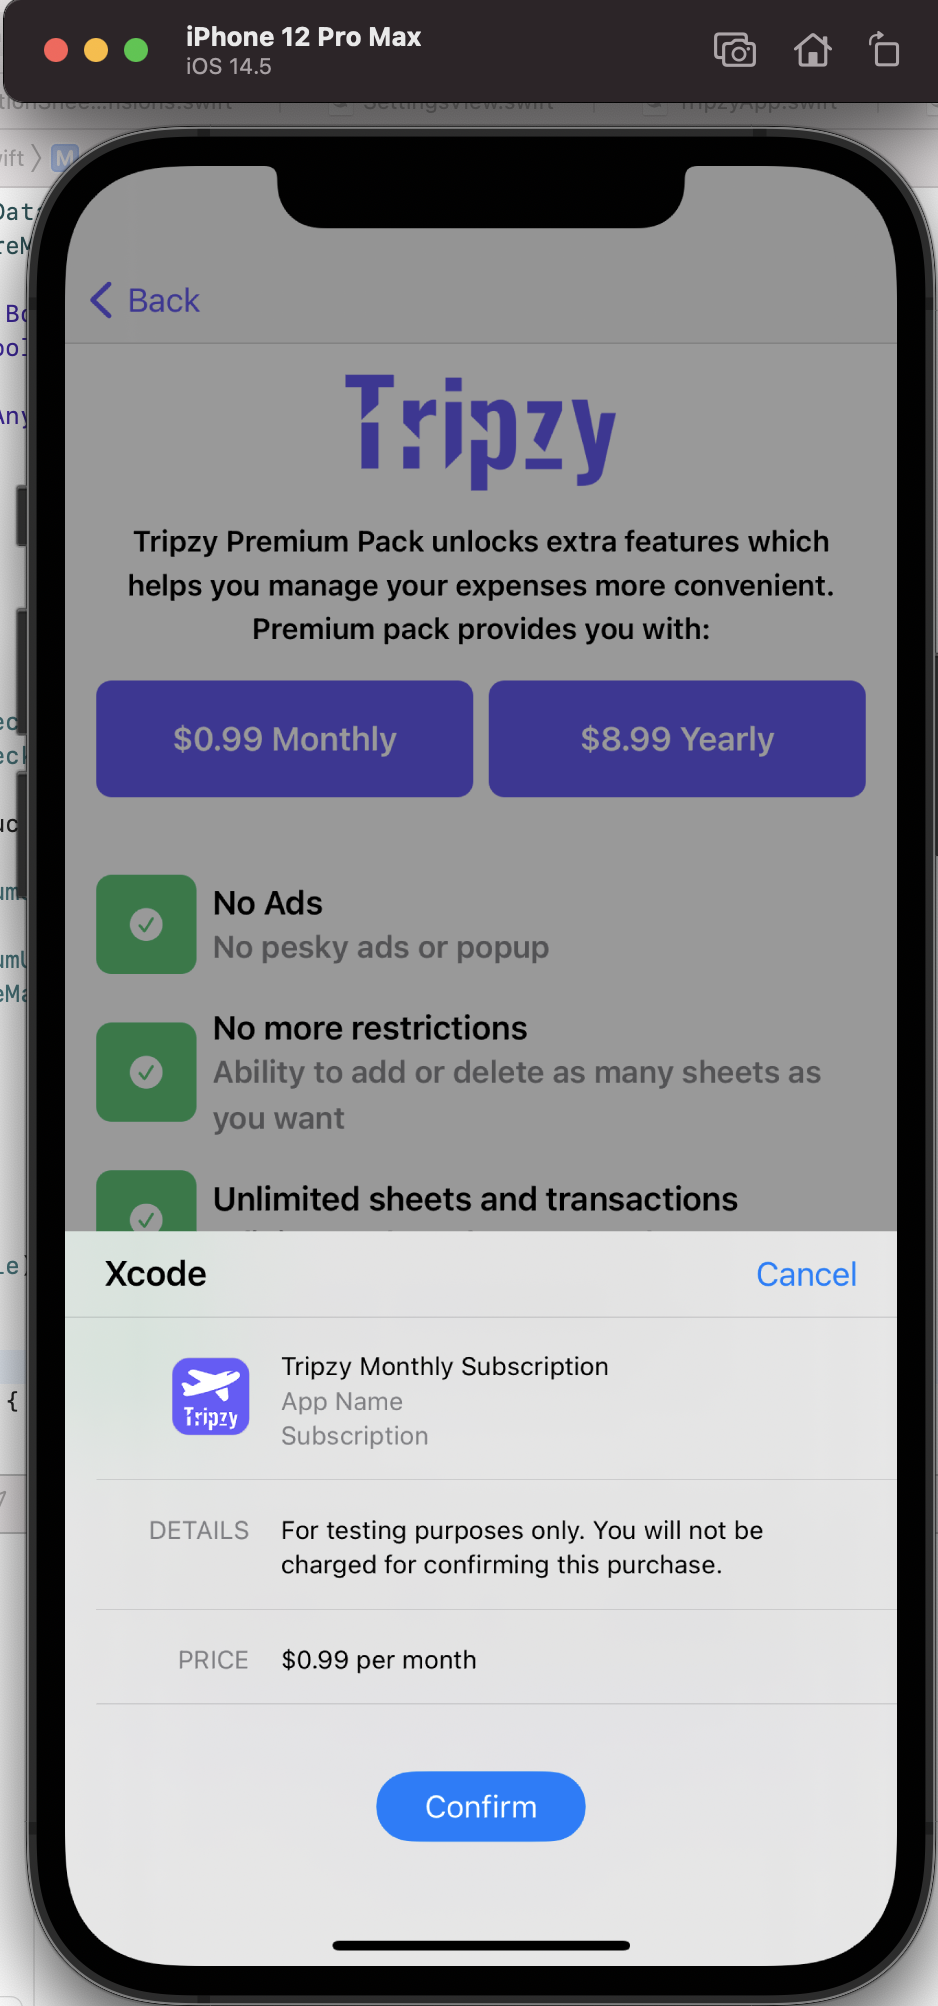
Then how can we verify if all work perfectly? Once you click on one of the IAP, you can see the real purchases that we have made by clicking the last button (next to location button) on the mini debugger toolbar here.

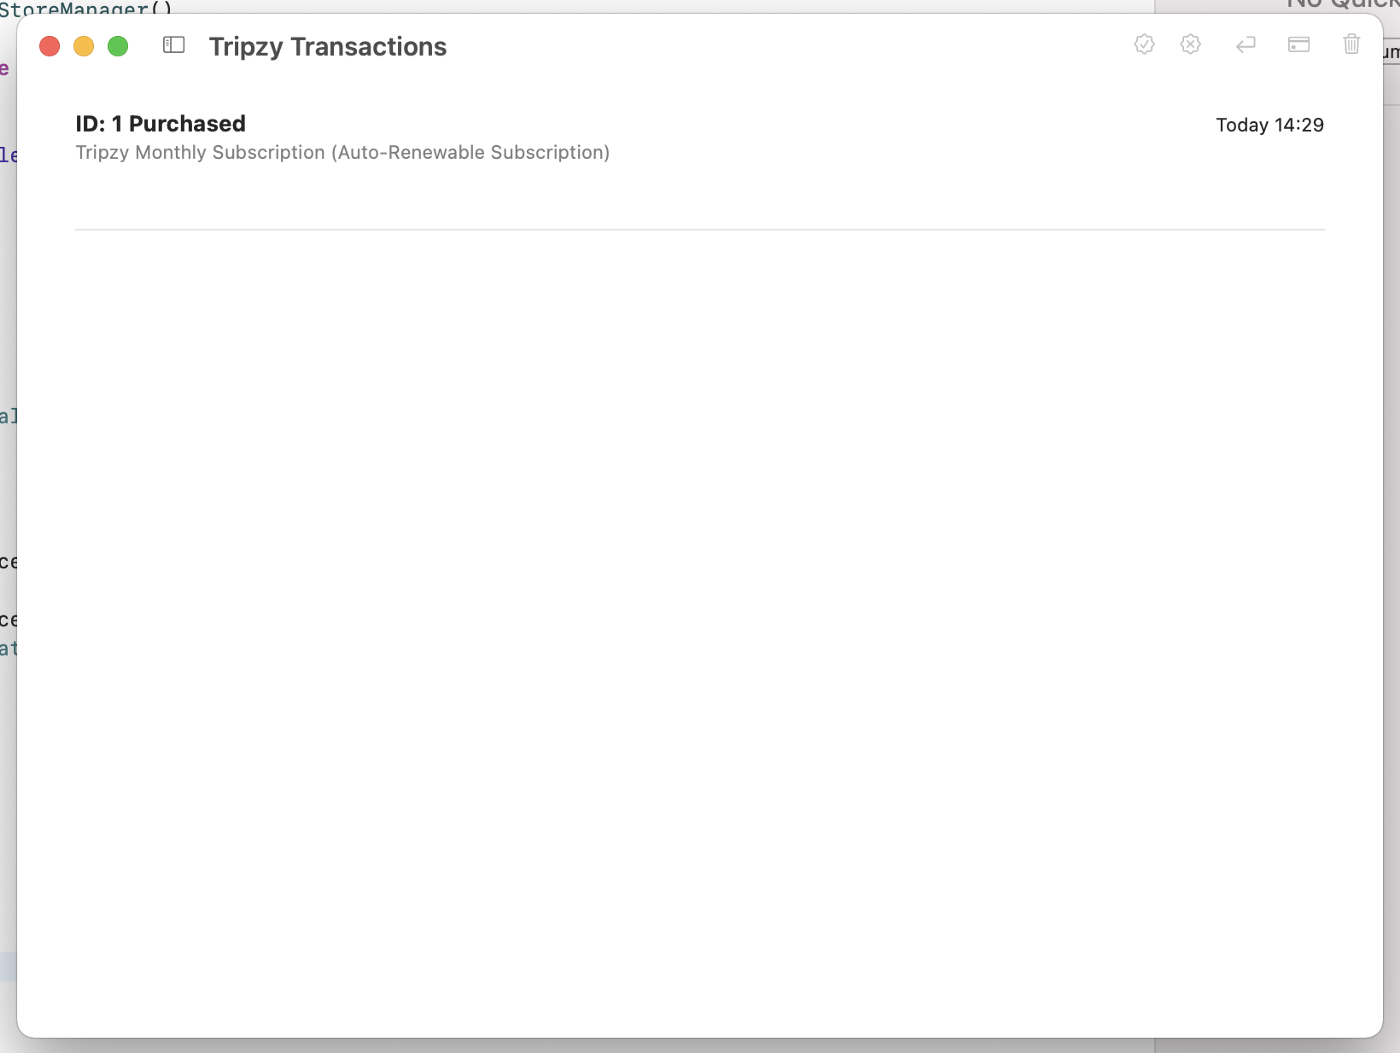
Then from this page, you can delete it as much as you want until you satisfy with your testing. I hope with this information, now you are able to simulate what I have done on my app and make your testing much easier than before. Remember there is some limitation on testing with storekit as an example for simulating network connection problem (make us hard to simulate our loading indicator while we are waiting for the responses).